
In this article I will walk you through on how to implement a custom document approval workflow using SharePoint Designer.
Assuming the person to approve is set through a metadata property of the document.
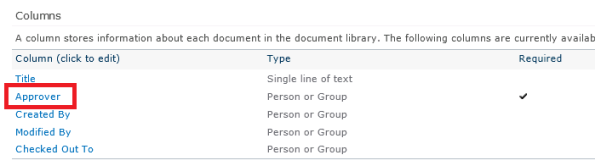
Below snapshot show how the Document library looks
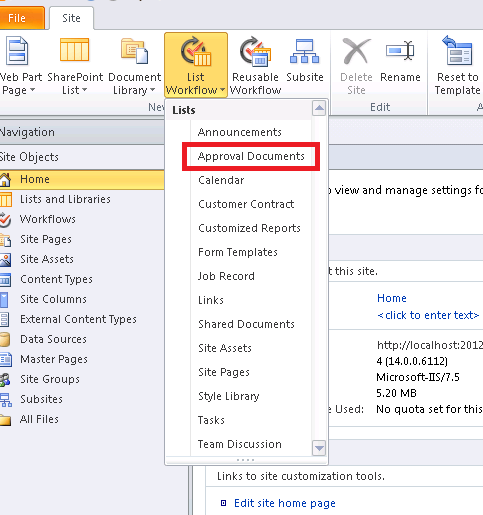
Let’s start the process by opening site in SharePoint designer. From Ribbon, click on List Workflow and select the document library.
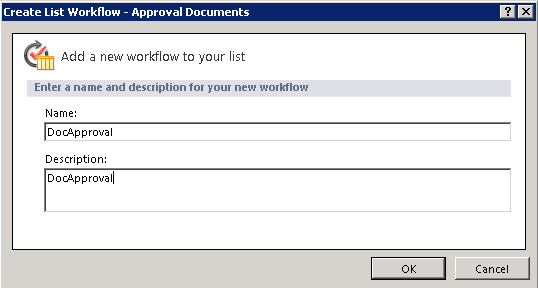
Enter workflow name and description
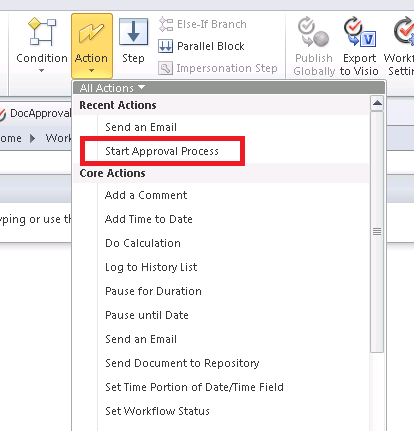
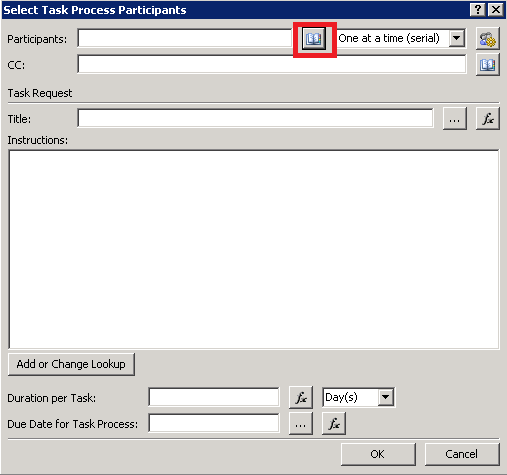
Now add action “Start Approval Process” from ribbon
Edit step by clicking “these users” link

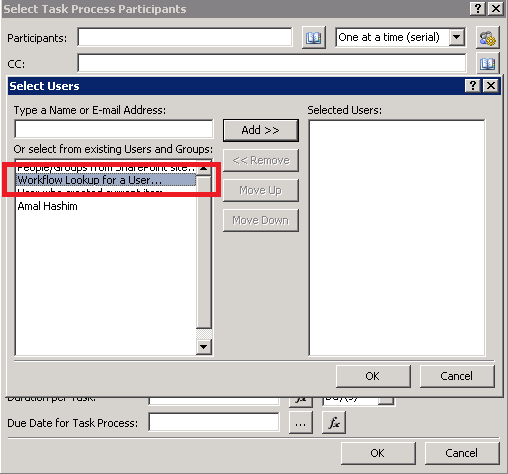
Here we are going to select the dynamic approver by picking the user from current item property

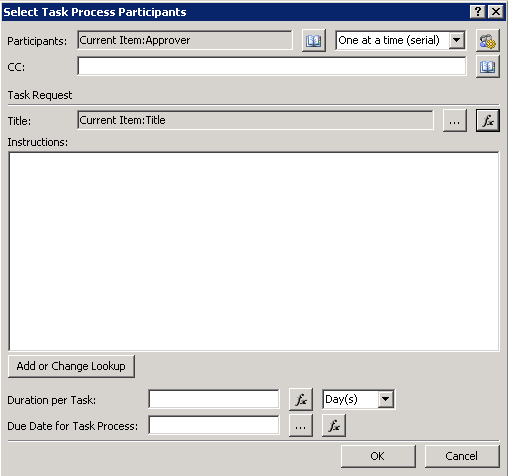
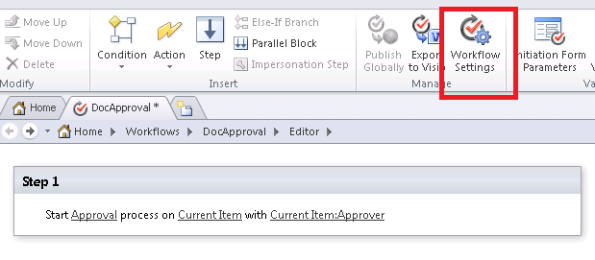
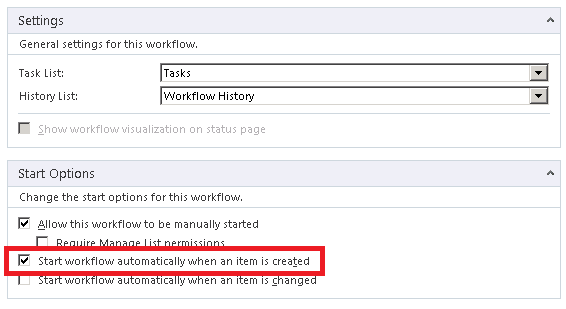
Click Ok. Now select “Workflow Settings” from ribbon
From start options we should set “Start workflow automatically when an item is created”. This will ensure for all new document uploaded into the library will go through an approval process.
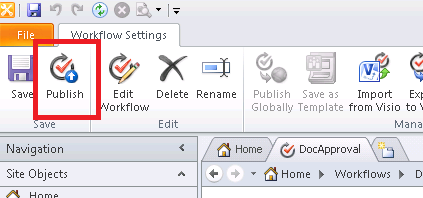
Last step is to publish the new workflow.
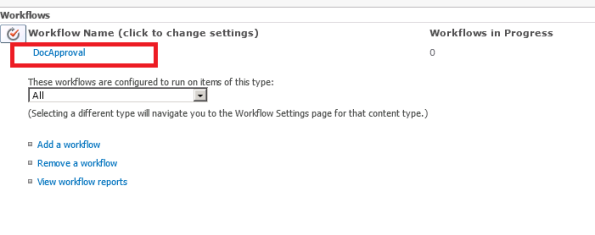
Lets test the workflow. Step 1 is to verify whether the workflow got associated properly. For that open up the document library setting and open the Workflow settings.
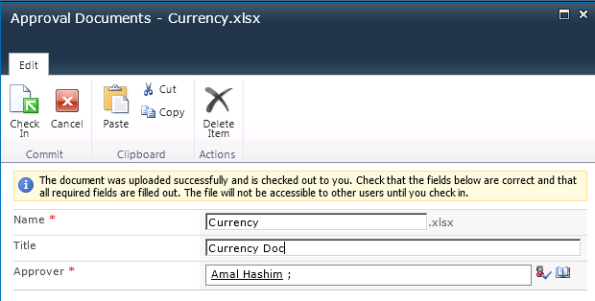
Let’s upload a new document. Ensure to put a valid user in “Approver” field.
Now the workflow will kick start and the status will be “In Progress”
A new task should get created for the Approver.
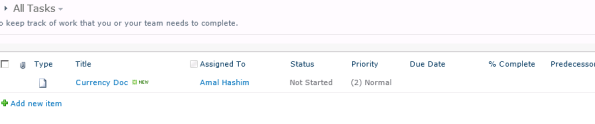
Clicking on the Task title will bring up the “Approve/Reject” option
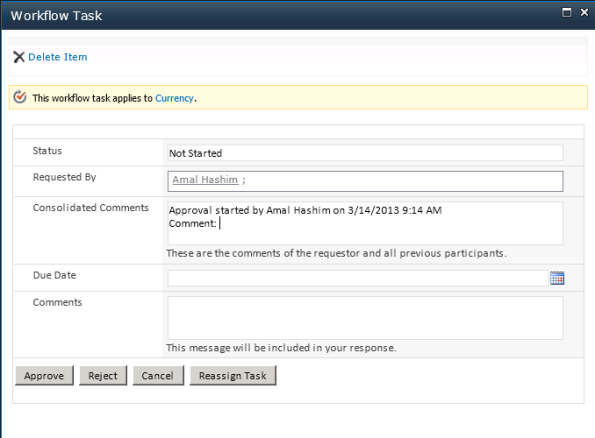
Clicking Approve will complete the workflow.

That’s all. Hope this helps.
How to create SPD 2010 state machine workflow for multi level approval.
ReplyDelete